How to Crochet Letters Onto a Blanket
Apr
The perfect way to take your blanket, sweater, or hat to the next level is to personalize them. Crocheting letters onto a blanket is an easy way to embellish it, but how to crochet letters onto a blanket is a question not everyone can answer. Knitting a name or initials into your project will make an A+ gift, as will an entire phrase or line from their favorite movie or poem.
You can add letters for initials, spell out names or messages, or just add “ABC” to add some cuteness to the baby blanket! Whatever you decide to write with your hooks, there are a number of different techniques to help your design look completely custom and eye-catching.
This is a project you shouldn’t miss, as it’s a great way to add a personal touch to your quilt. Perhaps it can make your favorite blanket more sentimental, or if you want to surprise a friend with a gift. Keep reading to learn simple ways to crochet letters on a blanket.
Contents
2. The Easiest Way to Hook Letters to a Blanket
2.1. Blanket Design
To make the process go smoothly, you should define the area of the blanket where you want to place the letters by creating stencils for the letters so that you know exactly where to place them and where they are on the blanket. Consider how big you want each letter to be.
You can make the letters as big or small as you want, as long as they fit in the blanket! After placing the stencils, you can count the number of stitches on the edges of each letter and the edges of the quilt. You’ll also need checkerboard paper to trace the stitches by marking an X in each gap.
Count from the edges of the letters to the edges of the blanket. There will be stitches between the edges of each letter on all sides and edges of the quilt. Count the number of stitches from the edge of each letter and the corresponding side of the quilt. This will help ensure that the letters end up exactly where you want them to be.
Mark an “X” in each space on the graph paper where a stitch will be made. Together, these stitches will form a letter.
You don’t have to map out the entire blanket on chart paper. Only outline the part of the blanket where you want to add the letters.
Keep in mind that you’ll be working on a mesh, so curved or slanted letters will have some slightly jagged edges.
2.2. Create A Letter
Now that you know what you’re doing, you can start writing letters by following the simple step-by-step instructions below suggested by 9Blanket:
Step 1: Make a knot and place it on your crochet stitch. Then secure your hand and loop the yarn over your index finger twice. Then, pull the first loop over the second and tug at the tail to secure the knot. Slide the knot onto your crochet needle, then pull the tail to tighten it around the crochet hook.
Step 2: Insert the hook into the stitch where you want the first letter to begin.
The first step you should take is to determine the first stitch you want to make on your crochet chart correctly.
Following the diagram you drew out earlier, start threading the hook into the stitch of the first letter from the front of the quilt. Make sure you go all the way through the blanket including the front and back.
Step 3: Loop the yarn over the hook and pull through the stitch.
This stitch will anchor the yarn to your blanket so you can start making crochet stitches into it. During the process, the yarn will stay on the back of the blanket and pull out as you work.
At this point, you’ll work on the next blank according to the chart with a single crochet stitch or whatever stitch you like for the letters.
Step 4: Knit a single crochet stitch into the next space.
Insert the hook into the stitch, loop the yarn through, and pull through the first loop on the hook. Pull the yarn over, then pull over the remaining 2 stitches on the hook to complete the stitch. Loop the yarn over and pull through the stitch to start making other crochet stitches.
2.3. Finalize The Design
Step 1: Continue knitting to complete the unfinished letters.
During the knitting process, keep an eye on your graph until you have single crocheted one time through each marked gap. Once you have completed a letter, tie it up, trim the excess yarn, and pull the yarn tail through the stitch. Drag the tail to increase security.
Depending on the size of the letters, the process can be quick or something you’ll want to break into a few passes to complete.
For example, if you knit a letter that takes up only a 3 x 3 inch (7.6 x 7.6 cm) space, you can finish it in less than an hour. However, if the letter takes up an 18 x 18 inch (46 x 46 cm) space, it can take several hours to complete.
How do you move to another section? To work on another letter, you’ll do one surface stitch until you get the next stitch. Remember that only the letters are shown on the front, so work on the back.
Step 2: Tighten the last stitch and trim the excess yarn.
After you have crocheted all the letters, you have the option of thickening them by crocheting long or short rows. You can also sew diagonally if you need to create curves in your design.
Remember to always refer to the chart you made in step 1 to make sure your letters look perfect. When you’ve finished knitting the first letter, cut the yarn about 15 cm from the last stitch.
Then, pull the end of the thread through the last stitch and pull the tail to secure the stitch. Cut the yarn about 1.3 cm from the knot to complete the letter.
Step 3: Repeat for the other letters.
After you complete the first letter, repeat the process for the other letters. Keep crocheting the letters onto your quilt until your project is complete!
Make sure that all the letters are the same height and width and that they are evenly spaced. You should refer to your graphing chart regularly to ensure that you are crocheting the correct stitches.
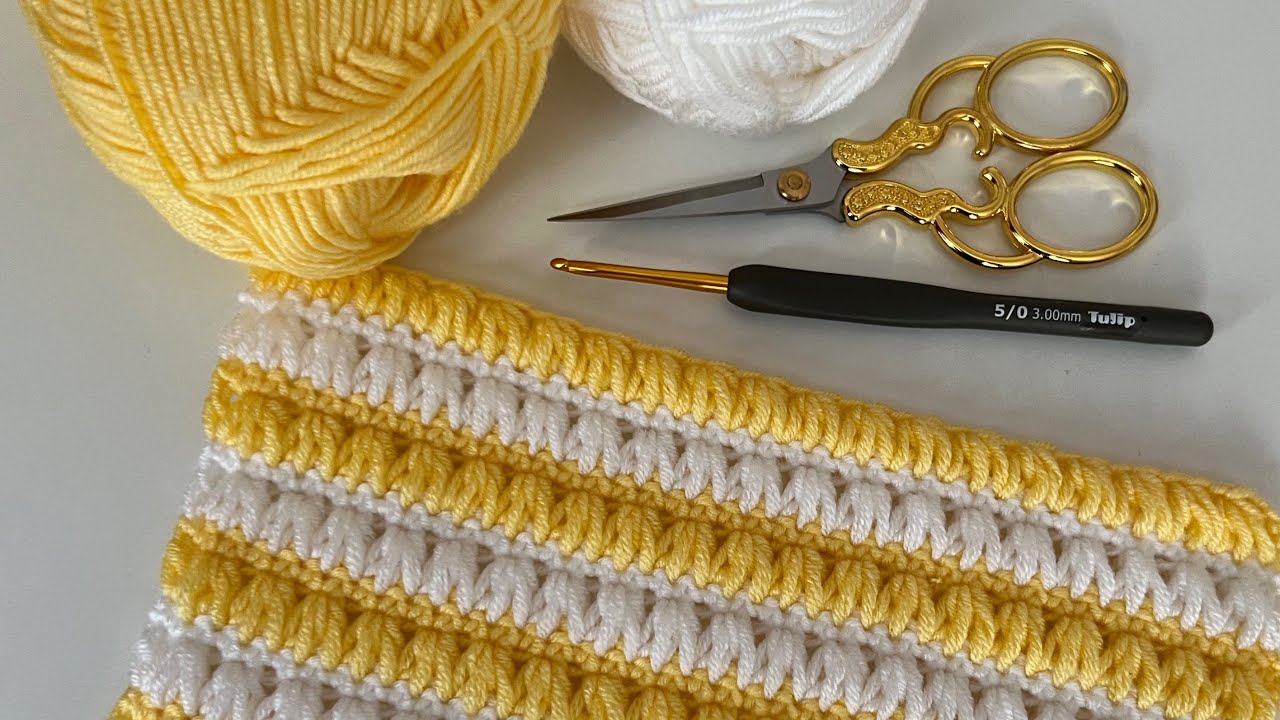
3. Which Crochet Stitch Is Best For Blankets?
For the blanket itself, you can do a bunch of crochet stitches. Pick a project that you don’t mind repeating, so you’ll find it interesting and relaxing. Moreover, each stitch only creates a unique pattern for the blanket, which will influence your decision when choosing.
For those looking for specific stitches, the granny stitch, half-double crochet, and corner-to-corner stitch are some of our favorites. The granny stitching creates a familiar pattern, while the double-crocheted hems create a cozy feel. On the other hand, corner-to-corner stitches look great on a single-color quilt.
4. What Is The Fastest Crochet Stitch For A Blanket?
Because a quilt is an extension project, some people like to do it with double crochet stitches. This is the fastest stitch you can make for a quilt, and the technique itself is very simple.
However, everyone has a different way of crocheting, so you may be able to find a stitch that you can make quickly.
You may like the following articles:
- How To Make A Tshirt Blanket Without Sewing
- How To Make A Lovey Blanket
- How To Wash A Pendleton Wool Blanket