How To Knit A Blanket On Circular Needles
Feb
How to knit blankets on circular needles, crocheting has recently become a trend that is reversing not only for adults but also for older people! Depending on the purpose and age, contestants want to knit blankets, others practice knitting hats, shirts,… This is considered a form of entertainment and very good patience training!
Are you tired of crocheting with a straight needle and want to explore new things like trying your hand at a round needle? And you don’t know where to start and what to do? Don’t worry, because this article is for you! Now, let’s learn about the circular needle and how to use it in crochet!
Contents
1. Prepare
Before starting any project, we need to prepare ourselves a plan, necessary tools and even detailed steps. And in this part, we will prepare the steps and content one by one!
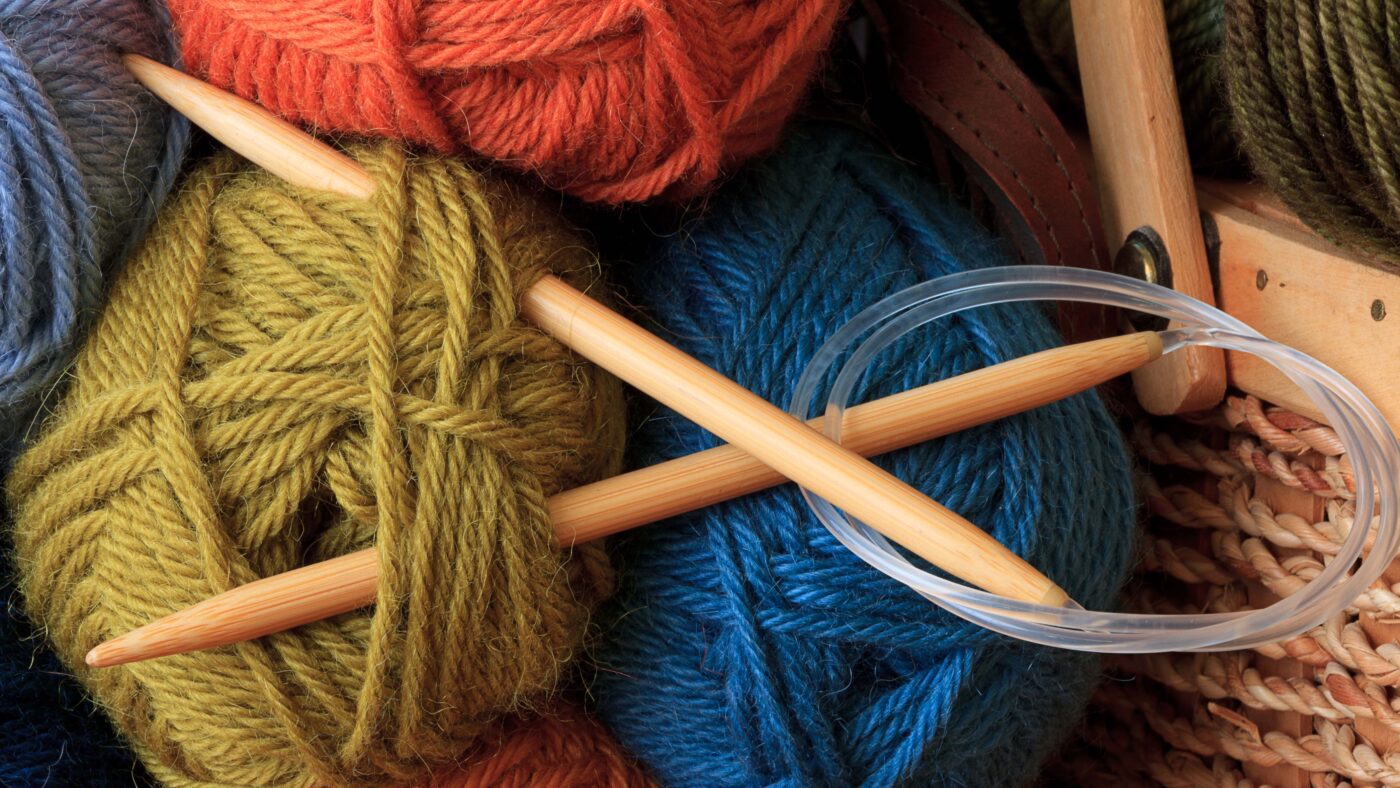
1.1. Tool
- Yarn: An indispensable item for any project. In particular, if you’ve determined yourself to use a circular needle and invested in a good yarn, you might want to consider wool. Besides, you can choose the one with 100% cotton. But according to our experience, the most suitable yarn is probably Paintbox Aran cotton. To find the yarn you like, you can go to stores that specialize in knitting and crochet work to have more options!
- Needle and thread: are two important items that cannot be missed, because they will support you a lot in tasks such as attaching, sewing, and fixing products!
- Scissors: Similar to a needle and thread, this is a useful tool to help you trim or shorten the time to trim a product or change a different yarn color.
- Ruler: is a measure of size, controlling the length and width of the product you want.
- Sample: Yes, you need to give yourself a sample that can help you progress to perfect the product as well as complete the small details of that product step by step. If you’re just starting out, choose simple models, but if you’re someone who likes to challenge and get ahead of themselves, you can choose from a bit more complex products.
1.2. Technique
To get started, you should also prepare some knitting techniques such as:
- Start knitting
- End of knitting
- Weave yarns
- Connecting product pieces or what you call finishing
- …
If you don’t already know, it’s completely normal! You can watch instructional videos on beginner matchmaker websites or on youtube,… or learn from other people in the club. You don’t need to rush! Let’s start little by little!
1.3. How Many Stitches Are Needed?
Why do we have to calculate the number of stitches every time we start a crochet project? Because the number of stitches will determine the actual width of your project. Most of the time, when crocheting, we will knit from side to side.
Sometimes, some projects will have borders added to make your product look more gorgeous. So they will make your actual blanket look bigger than your project!
2. How To Use A Circular Needle
Knitting a blanket with circular needles is essentially the same as knitting with a straight needle. The difference is, when you knit with a circular needle, the two needles will be connected by a wire. Plus, once you’ve finished a row, you just need to turn it around in the opposite direction just like a straight needle!
In case, our description is difficult and makes you not understand, you can emulate the video that we have introduced to you to help you have consistency in your actions! Hopefully, you can finish your project soon!
3. Basic Knitting Tutorial
Here’s to reinforce what you can see and remember about the circular needle. Let’s experiment a little with this circular needle pattern! Don’t worry, these templates are just the basics! oh believe you will get it done! Let’s get to work on it now!
3.1. Start
After calculating the number of stitches, you can now start the number of stitches in a row. This is quite an important step because they are the beginning and they gauge if you are sure your stitches are loose or not!
3.2. Border Knitting
Then comes the step of knitting the background rows of the blanket. The rows now function as the shape of your blanket. They are supposed to be the seeds that serve as the template for those next stitches!
Along with that, you can also knit the border at the beginning and end of the row and then the body. They will help you create a well-proportioned border on both sides of that blanket!
3.3. Knit The Body Of The Blanket
So the first step is to finish warming up the first parts of the blanket. And this is your main job. You can get creative in this section with a variety of stitch patterns and different colored yarns, to suit your personal taste.
Besides you need to ensure the correct number of stitches and the distance between stitches. Avoid letting them shove together and also limit the distance between them too big!
3.4. Check
When you have just knitted, you should also check what you have knitted, such as if there are any missing stitches, if there are any misaligned stitches, if the thread here is correct, … and many other things that you need. must check type during the whole crocheting process!
3.5. Complete
Your product is almost done! The job at this stage is to join the pieces together, fix the ends and remove excess threads and excess yarn on the blanket. So you’re done with your blanket!
4. Quilt Knitting Tips
- The needles you choose don’t have to be the same length and width as the project you’re about to work on. Some crochet experts use a 35-inch needle to knit scarves that are 8 inches wide and can crochet 48-inch-wide blankets.
- Experts recommend for every project that the kilometer is between 32 inches and 36 inches in length. On the other hand, if your blanket is too big, you can opt for a 48-inch crochet needle.
- Knitting experts often choose the circular needle because of its versatility. Since the needles are interchangeable with the cord, they are interchangeable for maximum use and flexibility in the crocheting process!
- As for the projects using the circular knitting technique, which is very popular using circular needles. These are crochet projects such as gloves, beanies, socks, etc. These are projects that generally have no hem, or sides like blankets, the knitting threads are connected in a pattern. round to form a knitting tube. Just like that, the crocheting is done continuously around and again and again and the result is the connected circular rows.
- There is one more factor that 9Blanket thinks you all have, but in my opinion you should still be prepared. It’s patience in the making! Sometimes, the stitches are the reason why some of you are impatient and easily give up on the process and your efforts! Of course, in any journey, you will encounter problems and test your perseverance and patience! It’s okay, just a little patience and love for crocheting will help you finish your unfinished projects soon!
You may need the following articles:
- How To Block A Crochet Blanket
- Why Does My Dog Lick The Blanket At Night
- How To Fix Sunbeam Electric Blanket Blinking